
With the design of the Deku Mask worked out, the next job is to make the paper for the piece.
In Green Fuse Films’ amazing documentary Between the Folds, Paul Jackson makes a very astute comment. In his words: “[P]aper has a problem – I think it’s very passive.” And he has a very good point. For a long time as I was developing my skill, I wondered why my pieces always looked so… childish. No matter how well I folded, the pieces always felt flat and lifeless, never like the masterful paper sculptures I knew were out there.
That changed once I learned just how much of a difference paper makes. Details like shaping and wetfolding make a huge difference too, but even those techniques are informed by the quality of the paper. Some papers are more easily wetfolded than others. Some will handle multiple layers better. And of course color is a consideration as well.
Jackson takes this idea to the extreme and actually makes pieces that focus on bringing out the quality of the paper more than the quality of the folds. He uses pastels to color paper with beautiful gradated tones, giving his pieces a one of a kind quality that is somewhere between metallic and organic.
For my Deku Mask, I knew I wanted to really bring out the vegetable quality of the paper. After all, as most people know, paper is made from plant pulp, most often trees. I had previously worked with a brown paper that was made from mango tree fiber and included bits of bark. While I made sure to check for other contenders for the sake of being thorough, I did end up going with that type of paper for the brown side.

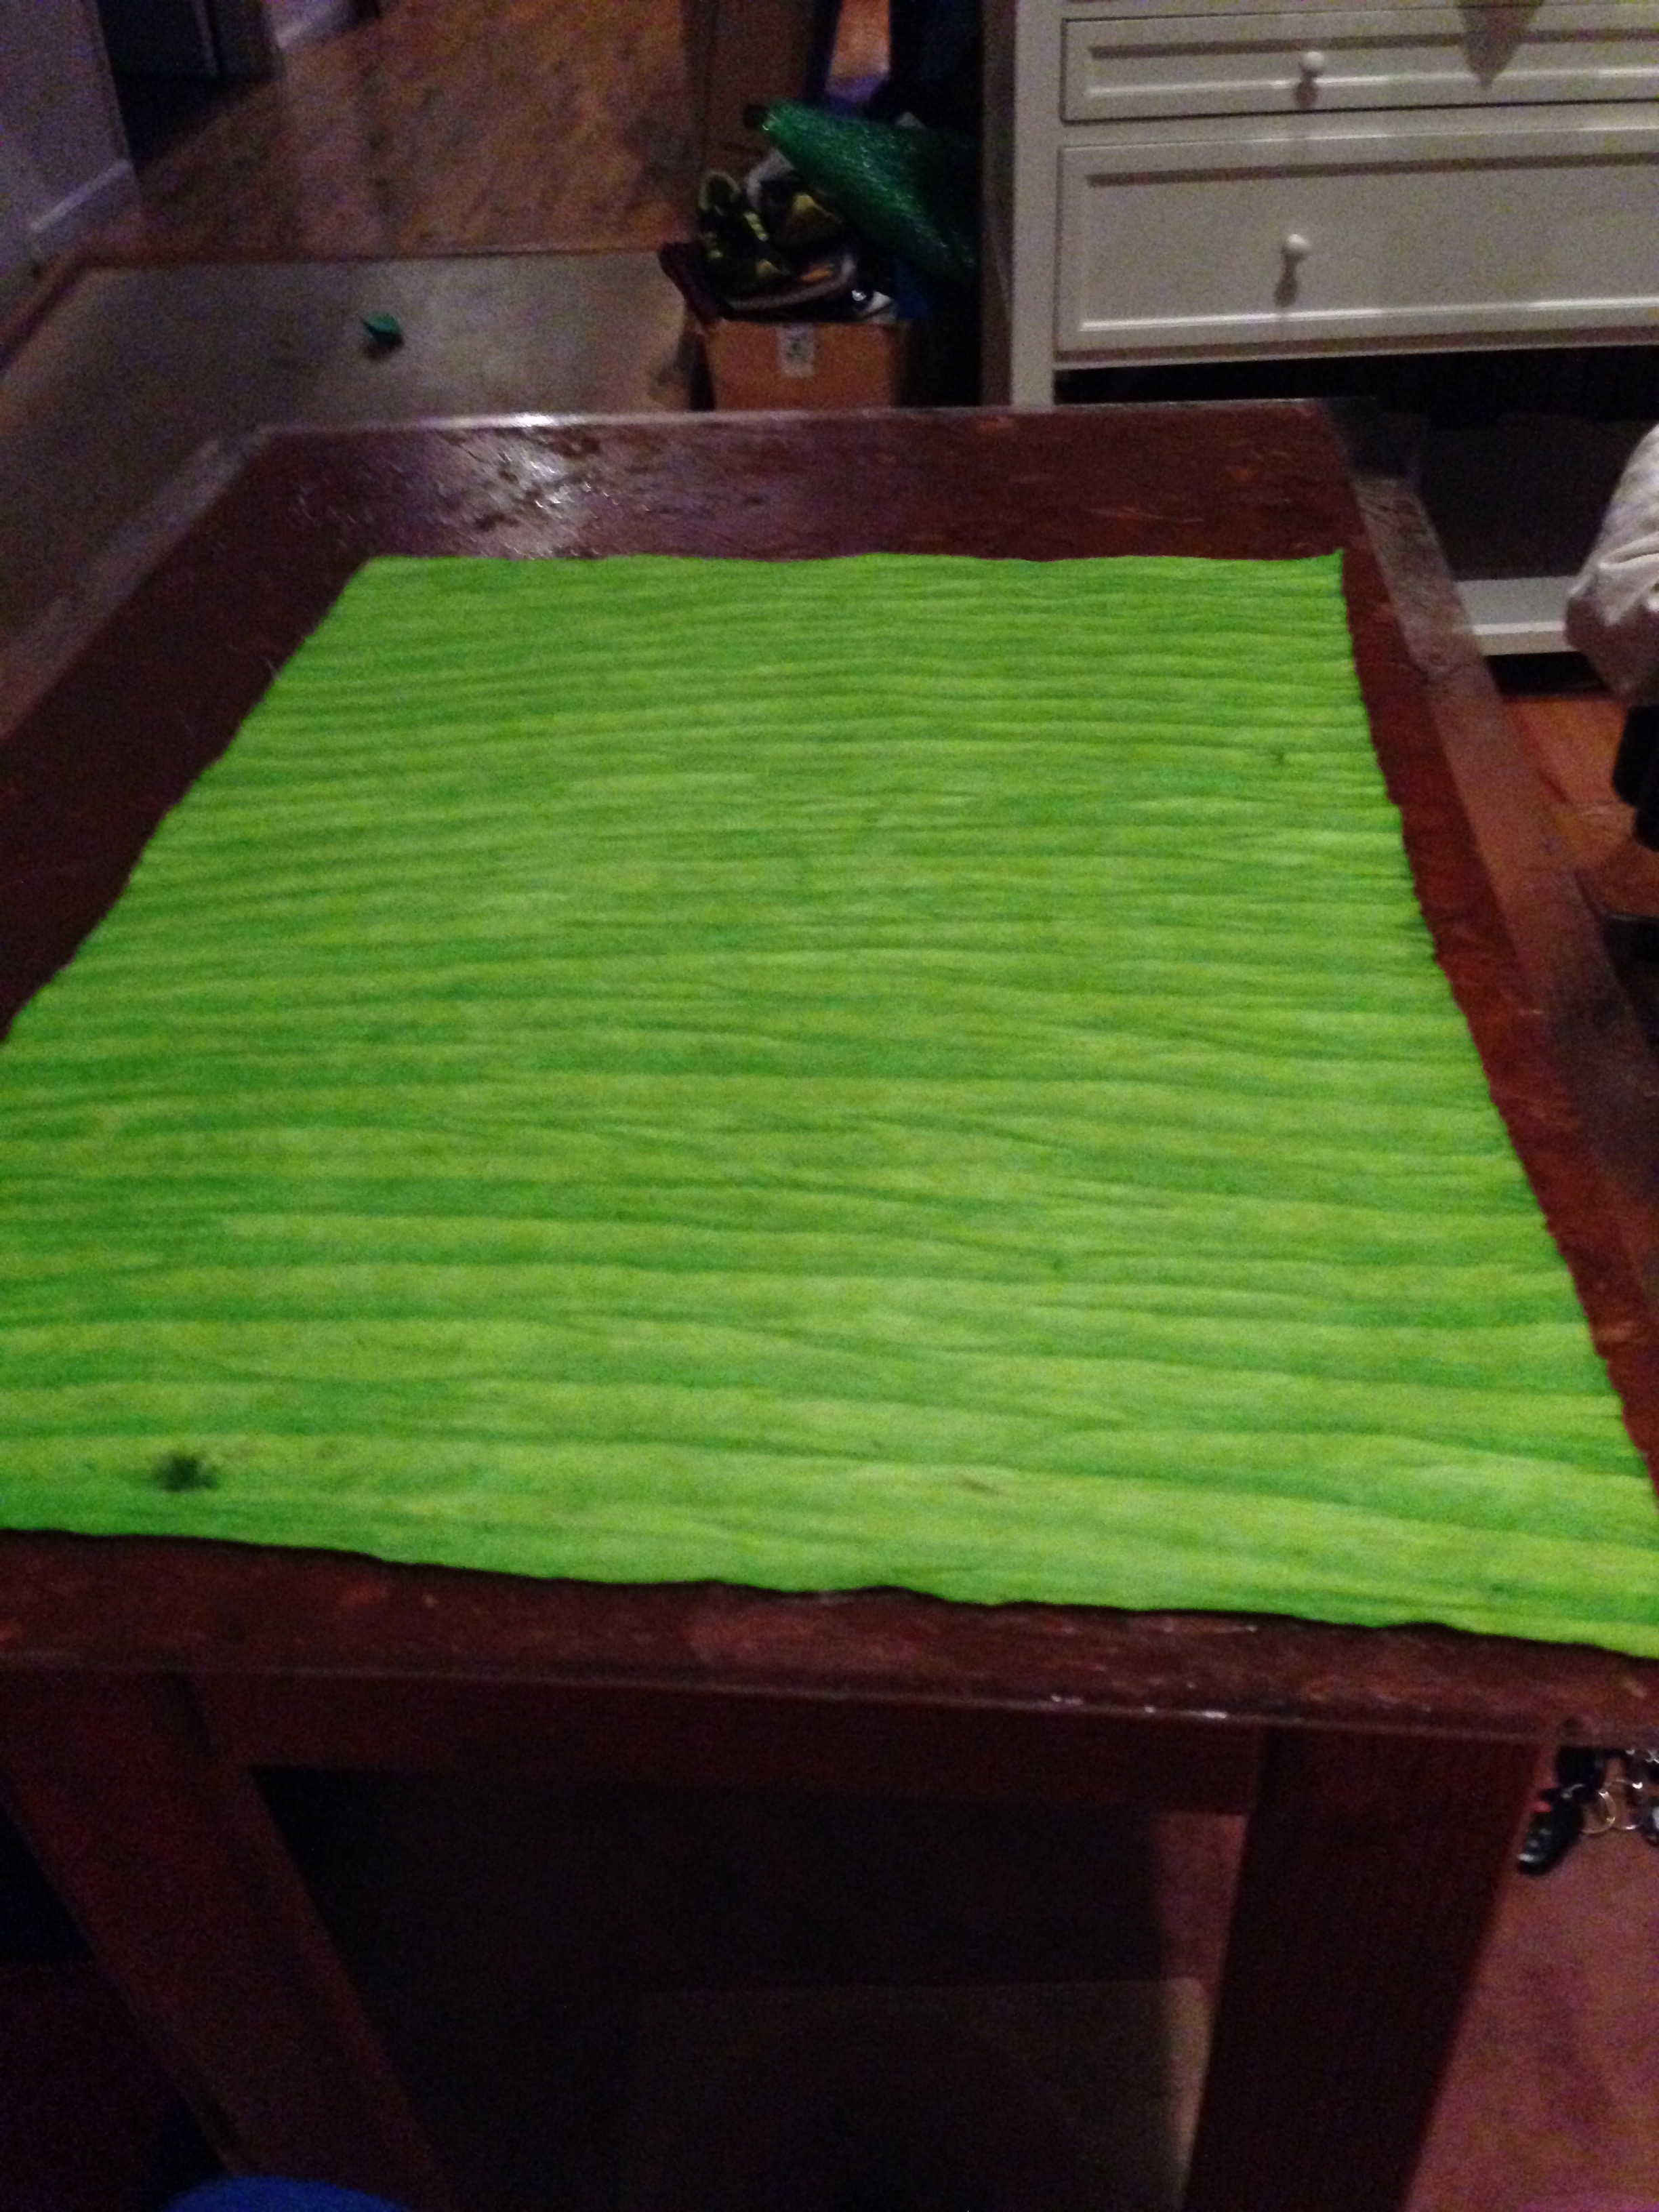
For the green side, I found a beautiful sheet of Lamali Lokta paper. It had stripes of two different shades of green with a very leaf-like texture. If I had any complaint about the paper, it would be that it is very thick, like all Lamali Loka papers. The colors are always bright and beautiful, but they can make complex pieces very difficult to fold.

Luckily, my Deku Mask doesn’t have any one area that gets overly complex, so the paper worked just fine. The only exception was one minor textural detail I wanted to include, but while future recreations could hypothetically include that detail if I use thinner paper, I am still very pleased with the result.
To turn these two sheets of paper – neither of which is particularly suited to advanced folding – into a single sheet of artisan quality origami paper, we use a little friend known as methyl-cellulose.
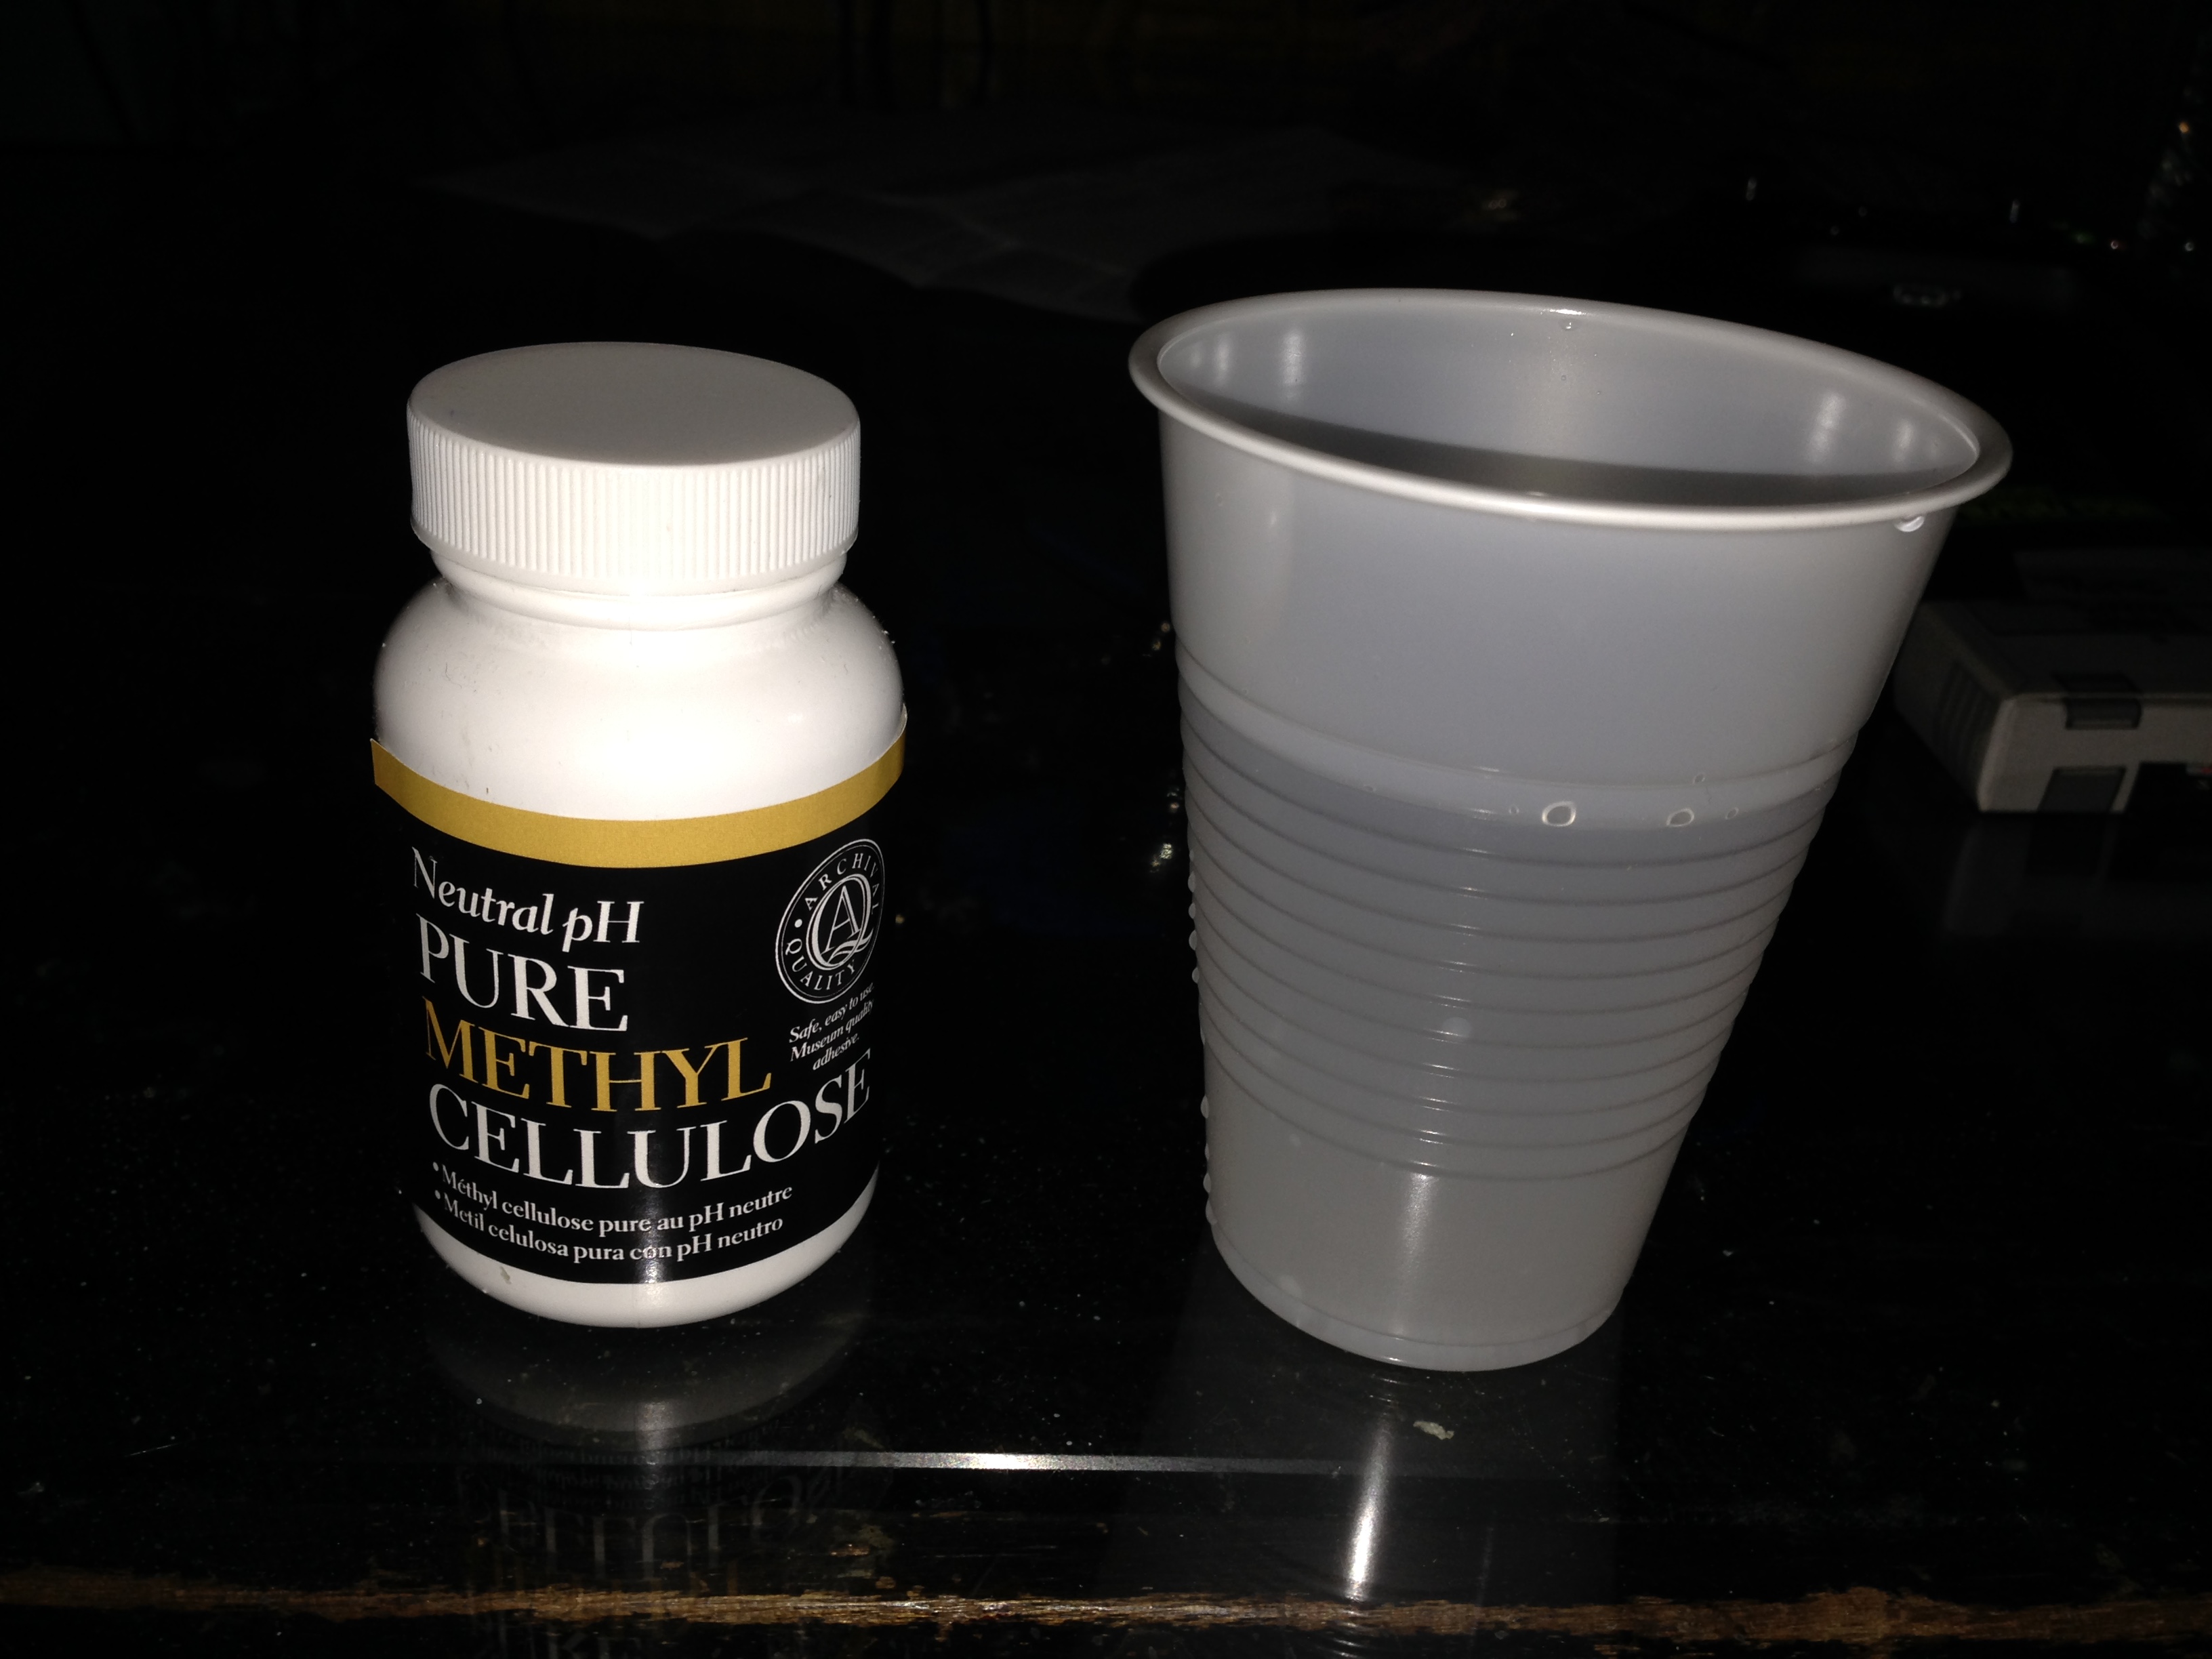
Also known as bookbinder’s paste, methyl-cellulose (MC) is a pH neutral glue that is often used in many papers already. It is a bit of an oversimplification, but you can basically think of paper as plant pulp mixed with glue then pressed flat and left to dry. Adding more MC basically gives the paper extra body and makes it crisper, two traits which help the paper take sharper creases and help it stay in a given position.
To use the MC, we first mix one tablespoon of the powder into one cup of cold water. Adjusting the ratio of MC to water will make the paste more or less thick, so I’d encourage experimenting to match both your personal taste and the needs for the specific project. Personally, I like my MC a little thicker, so I usually add an extra 10%-15% MC powder.
At first the powder will clump together near the top of the water.

Over the course of about 12-24 hours, it will become more uniformly dispersed and turn into a translucent grey paste. Once mixed, the glue will preserve for weeks or even months, so don’t be afraid to make more than you think you might need.
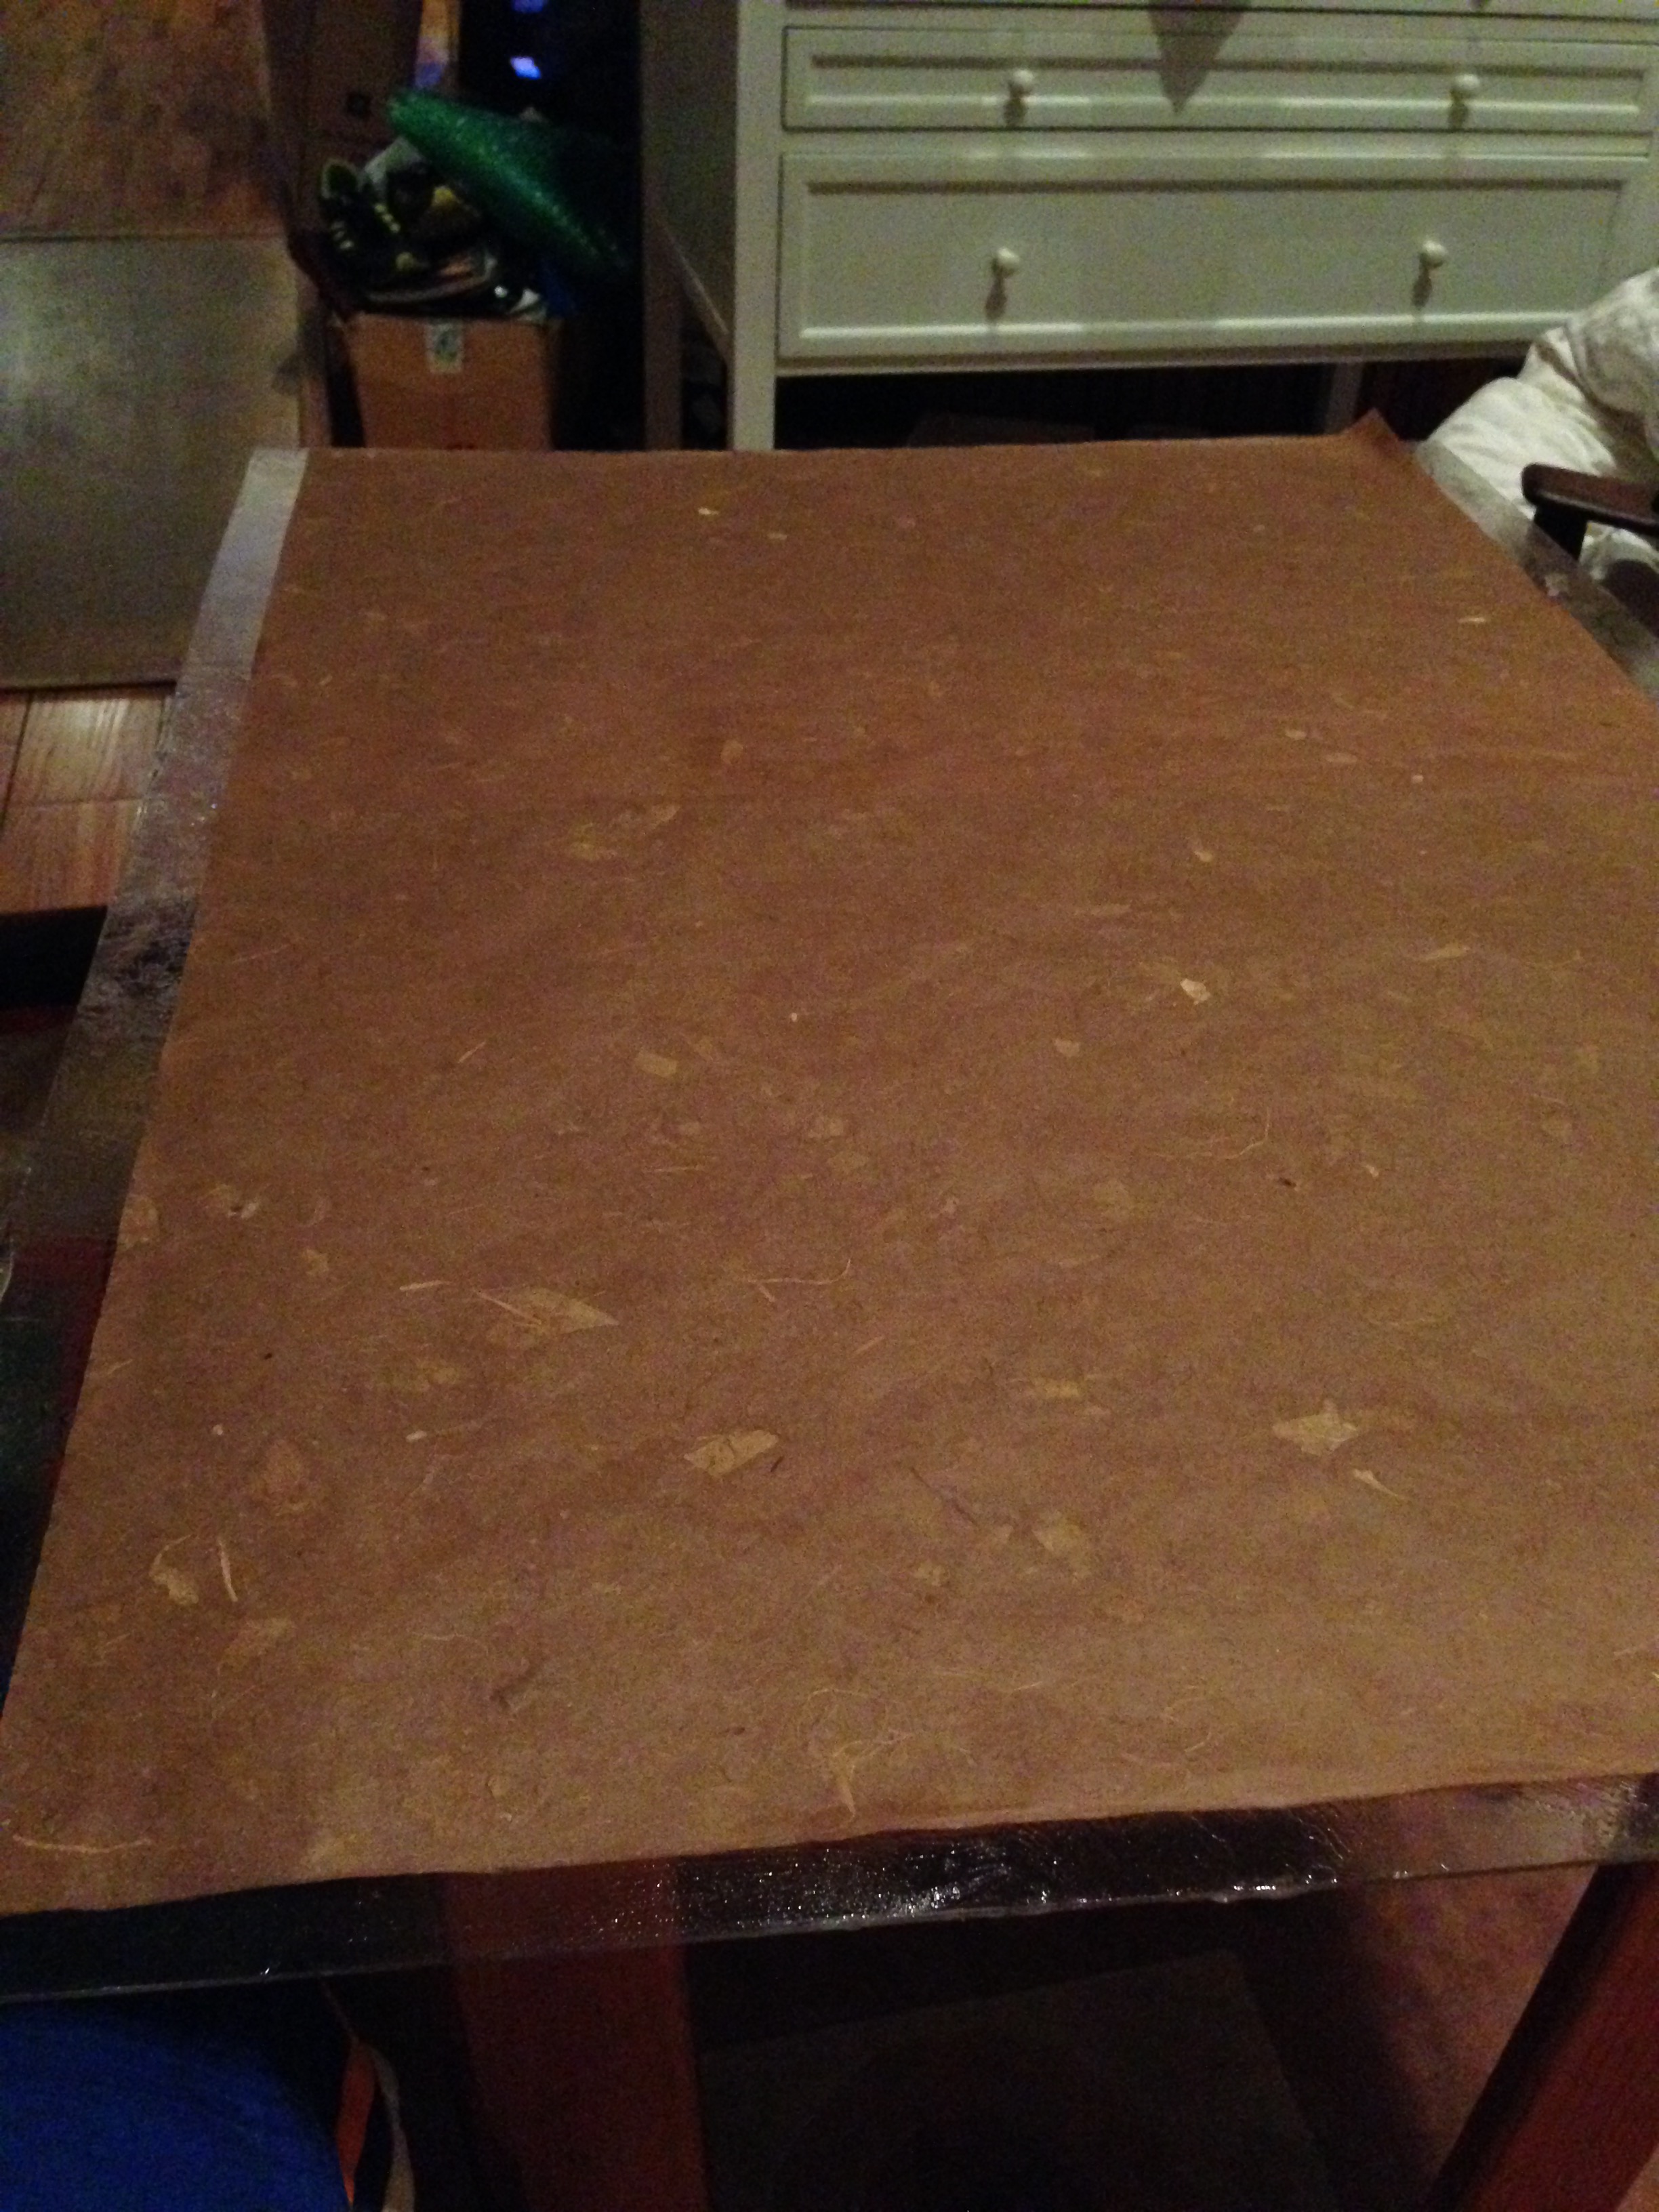
Once the MC is mixed and ready, we take a sheet of Plexiglas and lay a base coat of MC with a standard paintbrush. It is hard to see in this photo, but I assure you there is a layer of MC on the Plexiglas.

Then we lay one of our two sheets down. Be careful to avoid wrinkles as best you can. They won’t ruin the paper, but the less you have the better the result will look (unless of course you intentionally include them for texture). If you have a rolling pin, it can help push out wrinkles and will result in an especially thin and crisp result. But there are times when this may be a detriment. It all comes down to the project you are making the paper for. In this case I did not use one, because I want the extra body that rolling it flat would remove. Either way, always use a dedicated roller. You don’t want the MC getting into dough you will end up eating.
Next we do a second coat of MC, covering the exposed side of the paper.
In progress.
Fully coated.
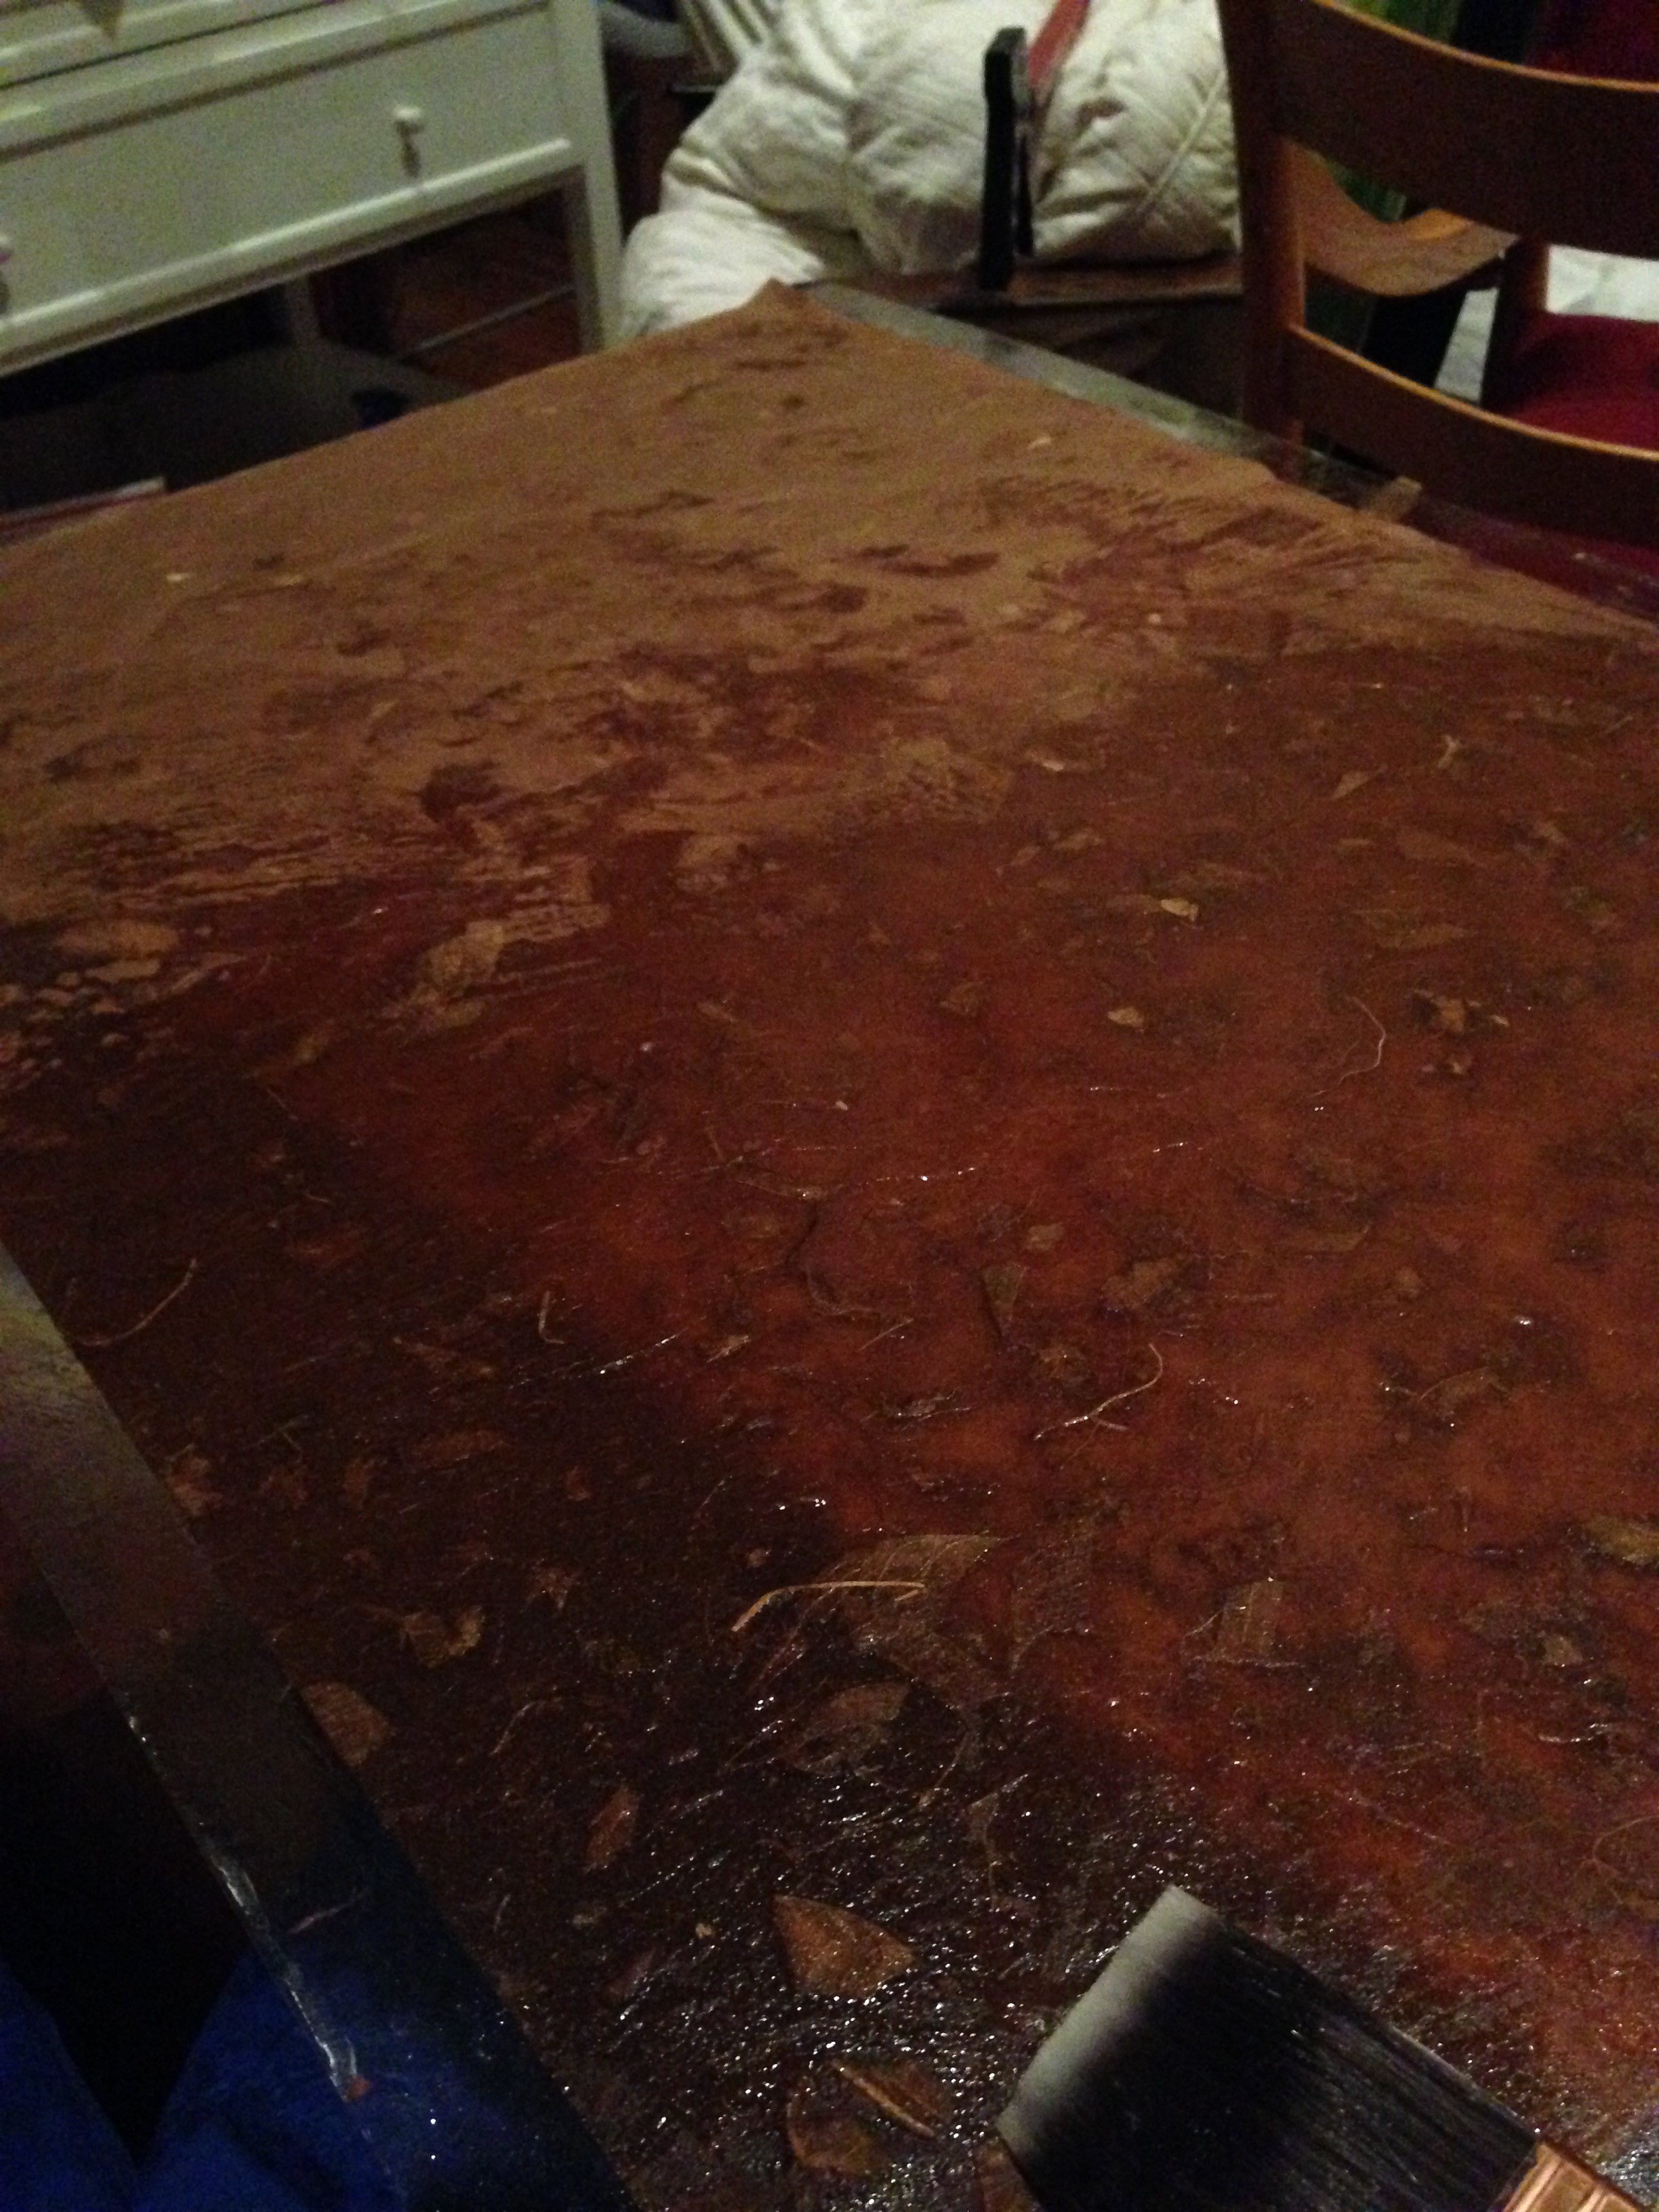
Finally, we do the same with the second sheet. Place it on top of the first sheet, avoiding winkles as best you can. Once again, a rolling pin can be helpful in many cases, depending on the subject.
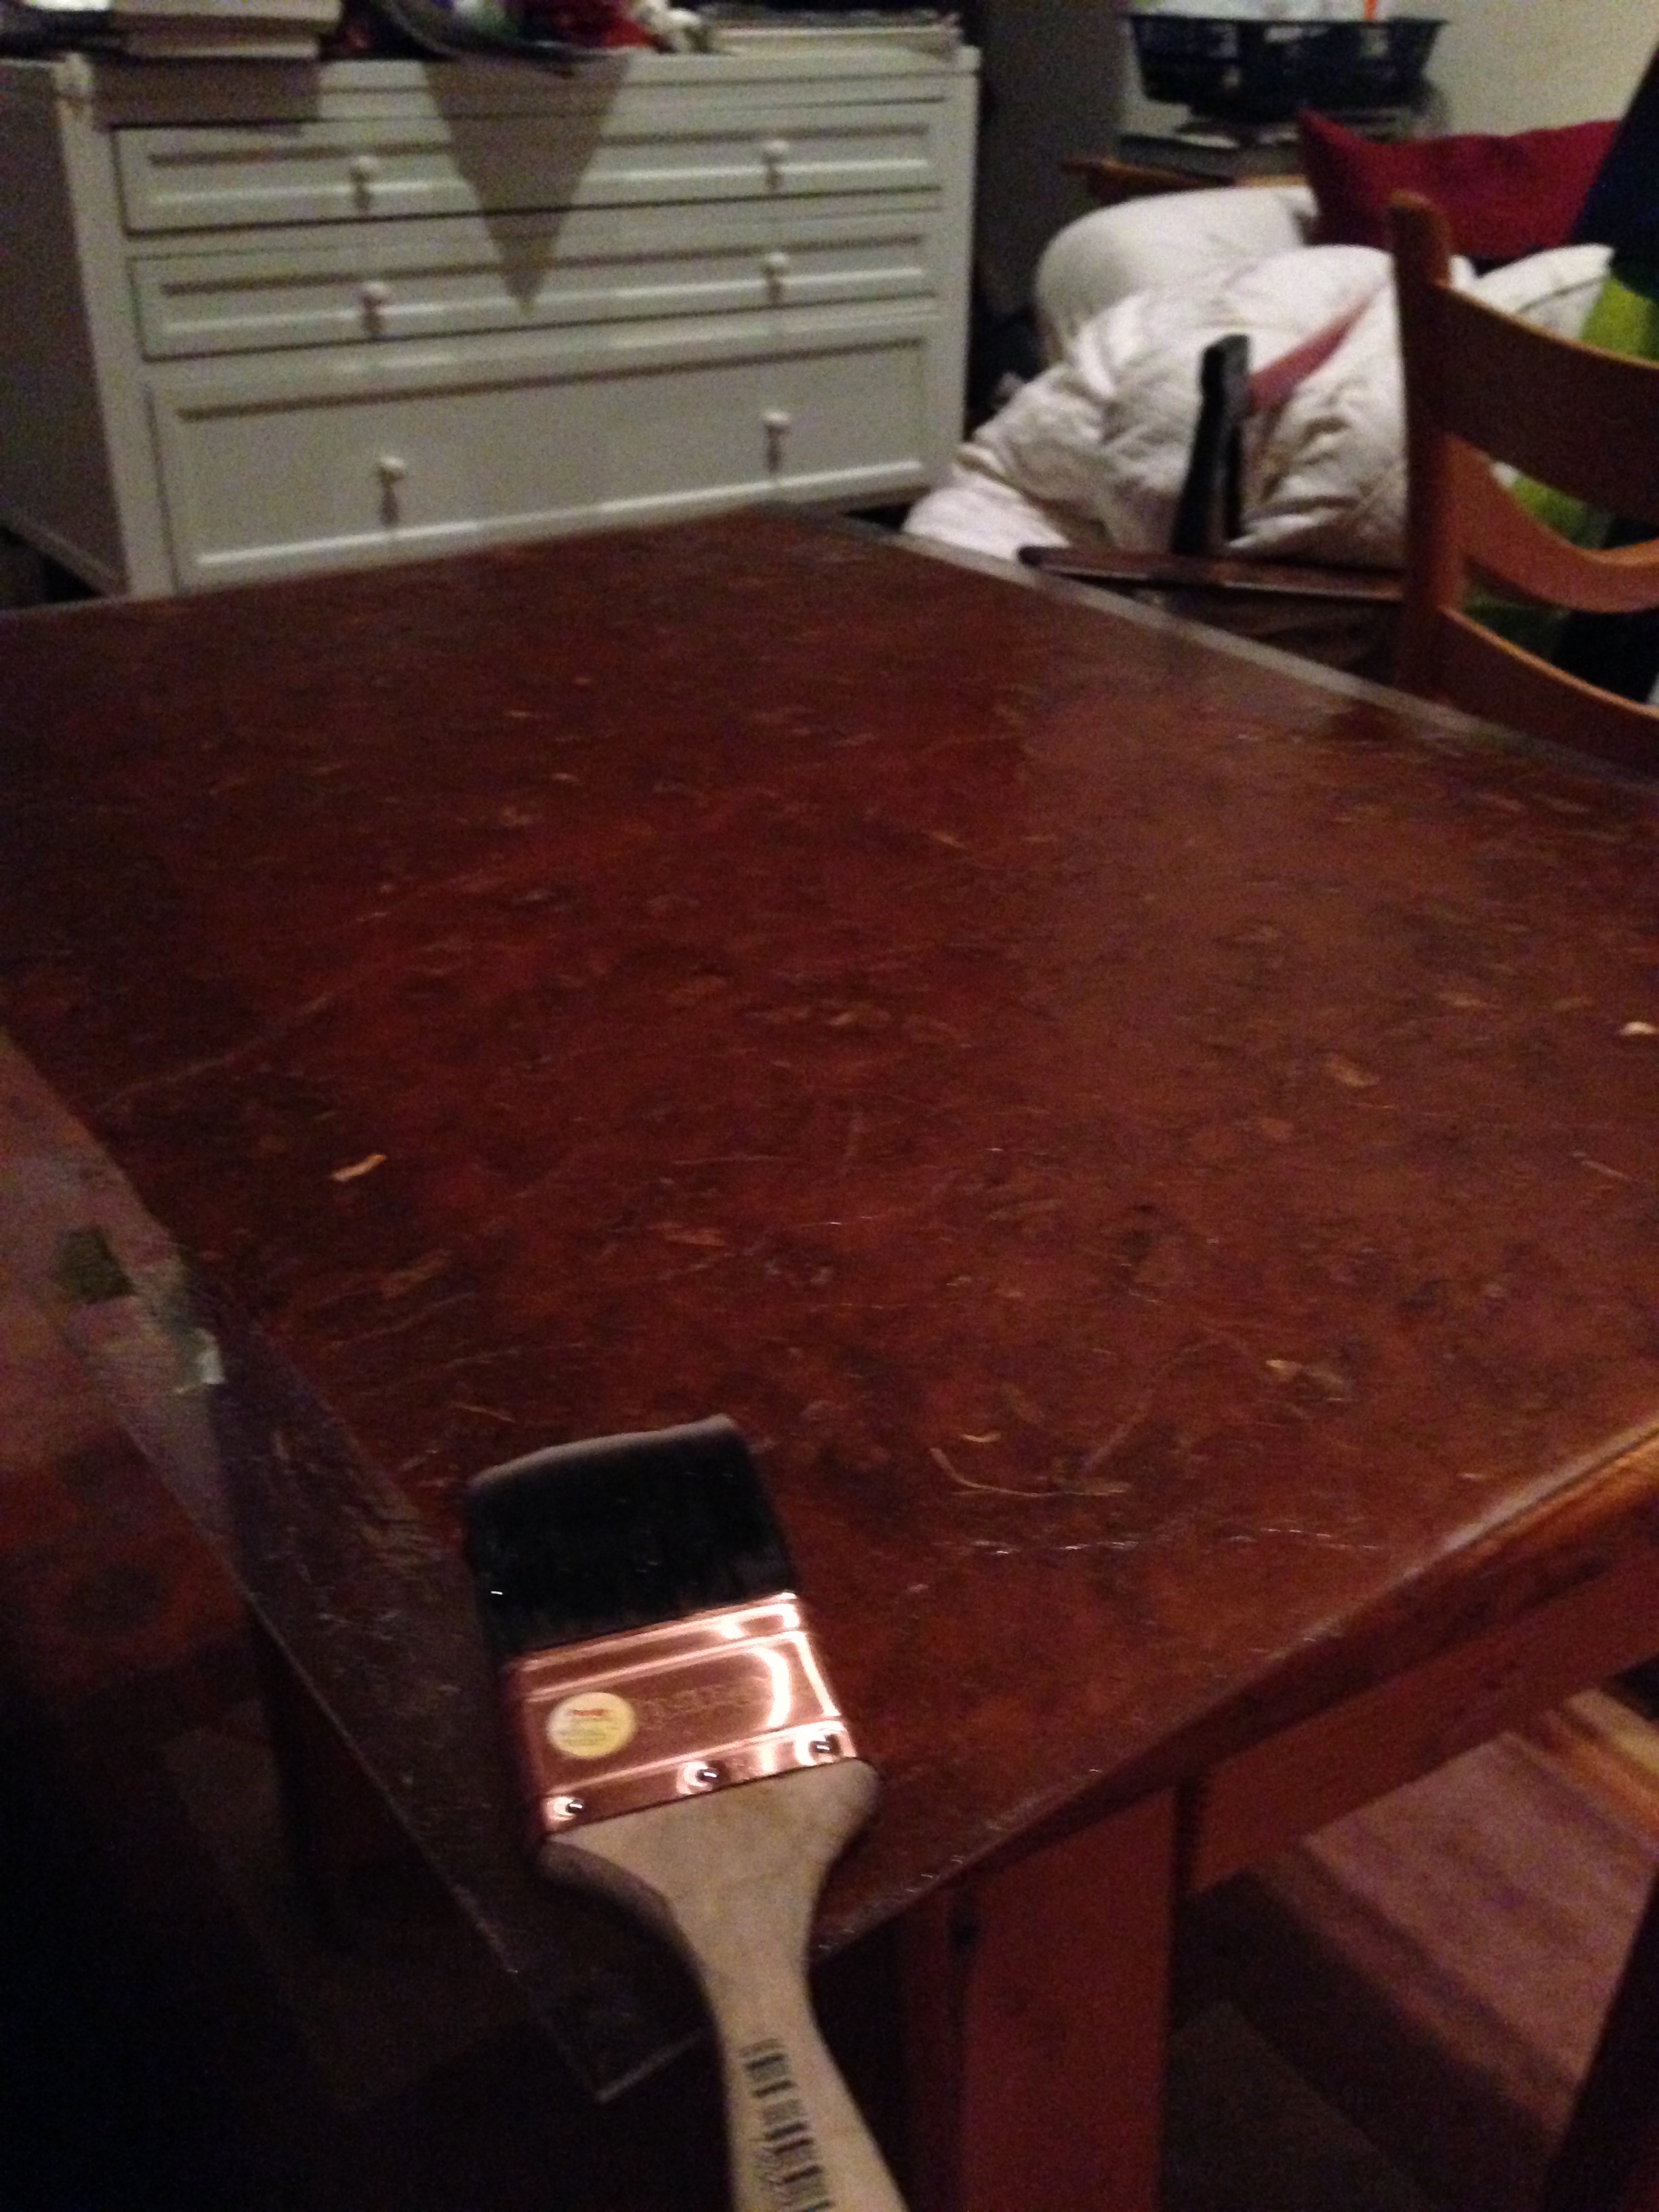
Then add a third and final layer of MC, covering the second sheet.

In progress.
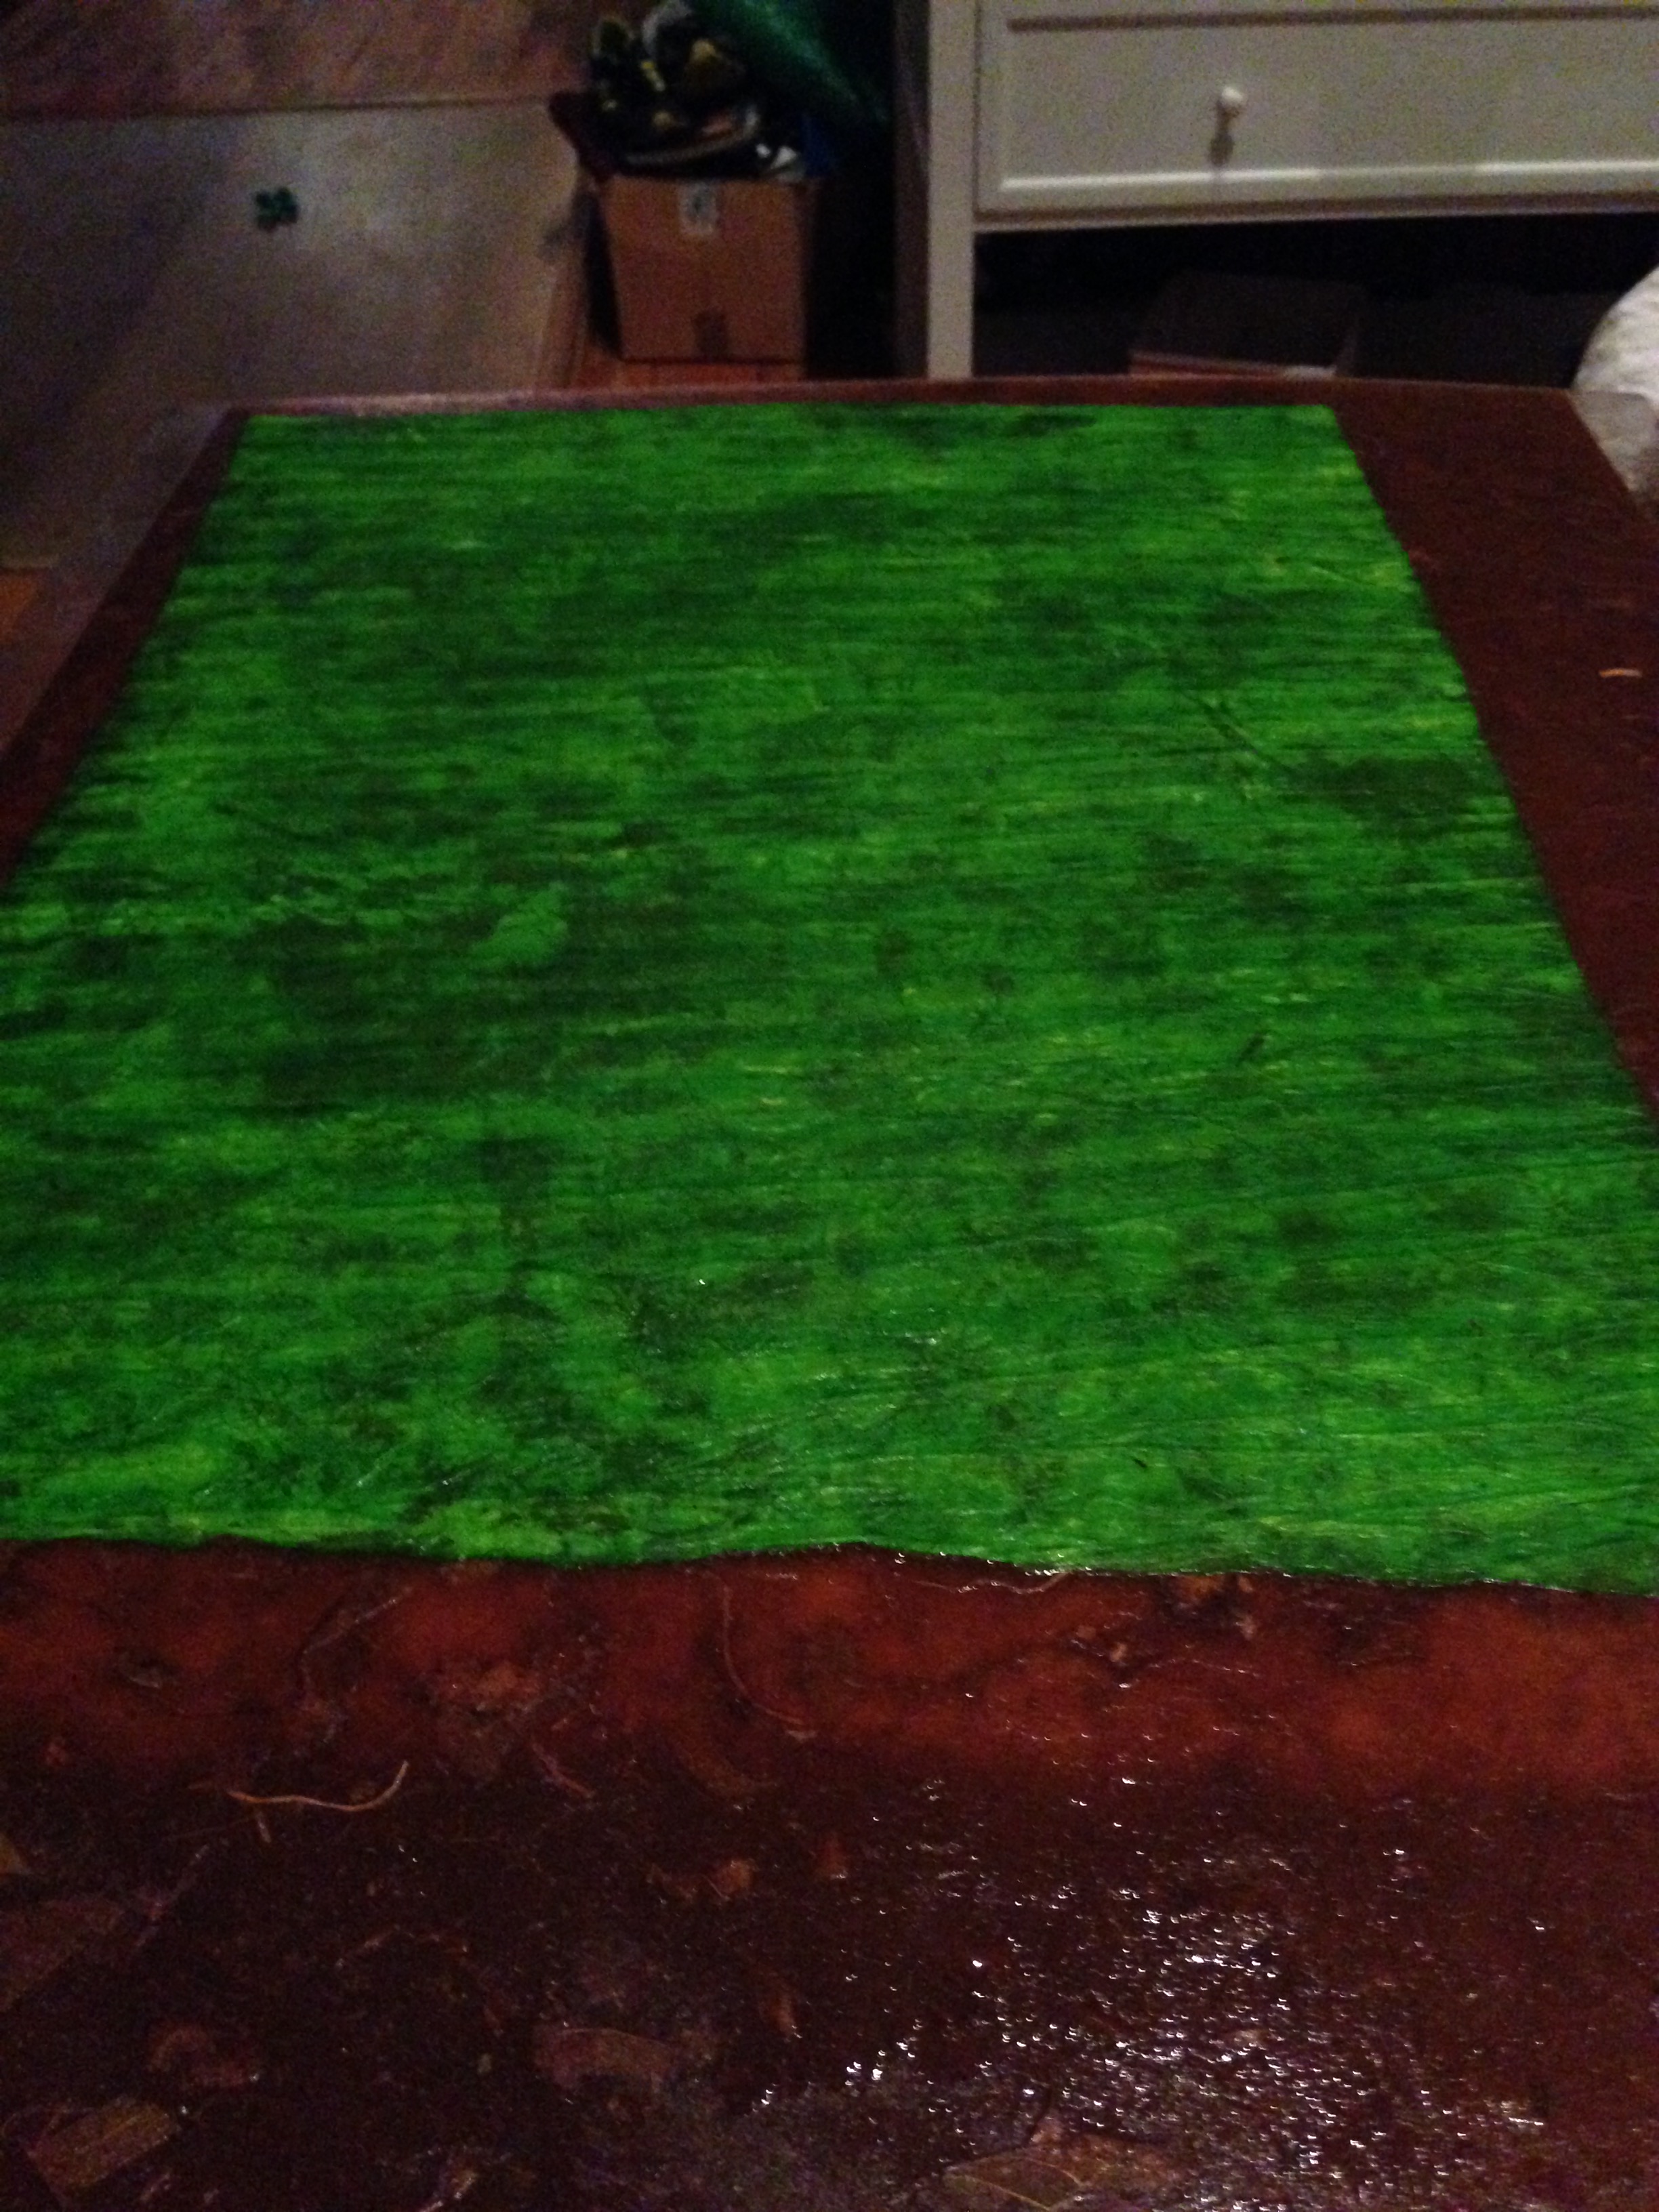
Fully coated.
In this case, the green is thick enough that the brown never really bleeds through. But on some projects, especially ones using one light side and one dark side, it may seem like the light color is lost to the dark one. And some papers will bleed through, depending on how well the paper holds the dye. Sometimes this can be a benefit, though, as the blotches of color can have a very pretty effect is used in the right piece. Generally, though, as the MC dries the paper will revert to its original color.

Freshly coated.

Starting to dry.
Fully dry.
Leave the paper to dry for about a day, at least one hour after the last visible signs of wet glue have evaporated. Then carefully peel the paper from the Plexiglas. I recommend using a bonefolder or a butter knife to gently separate the two.
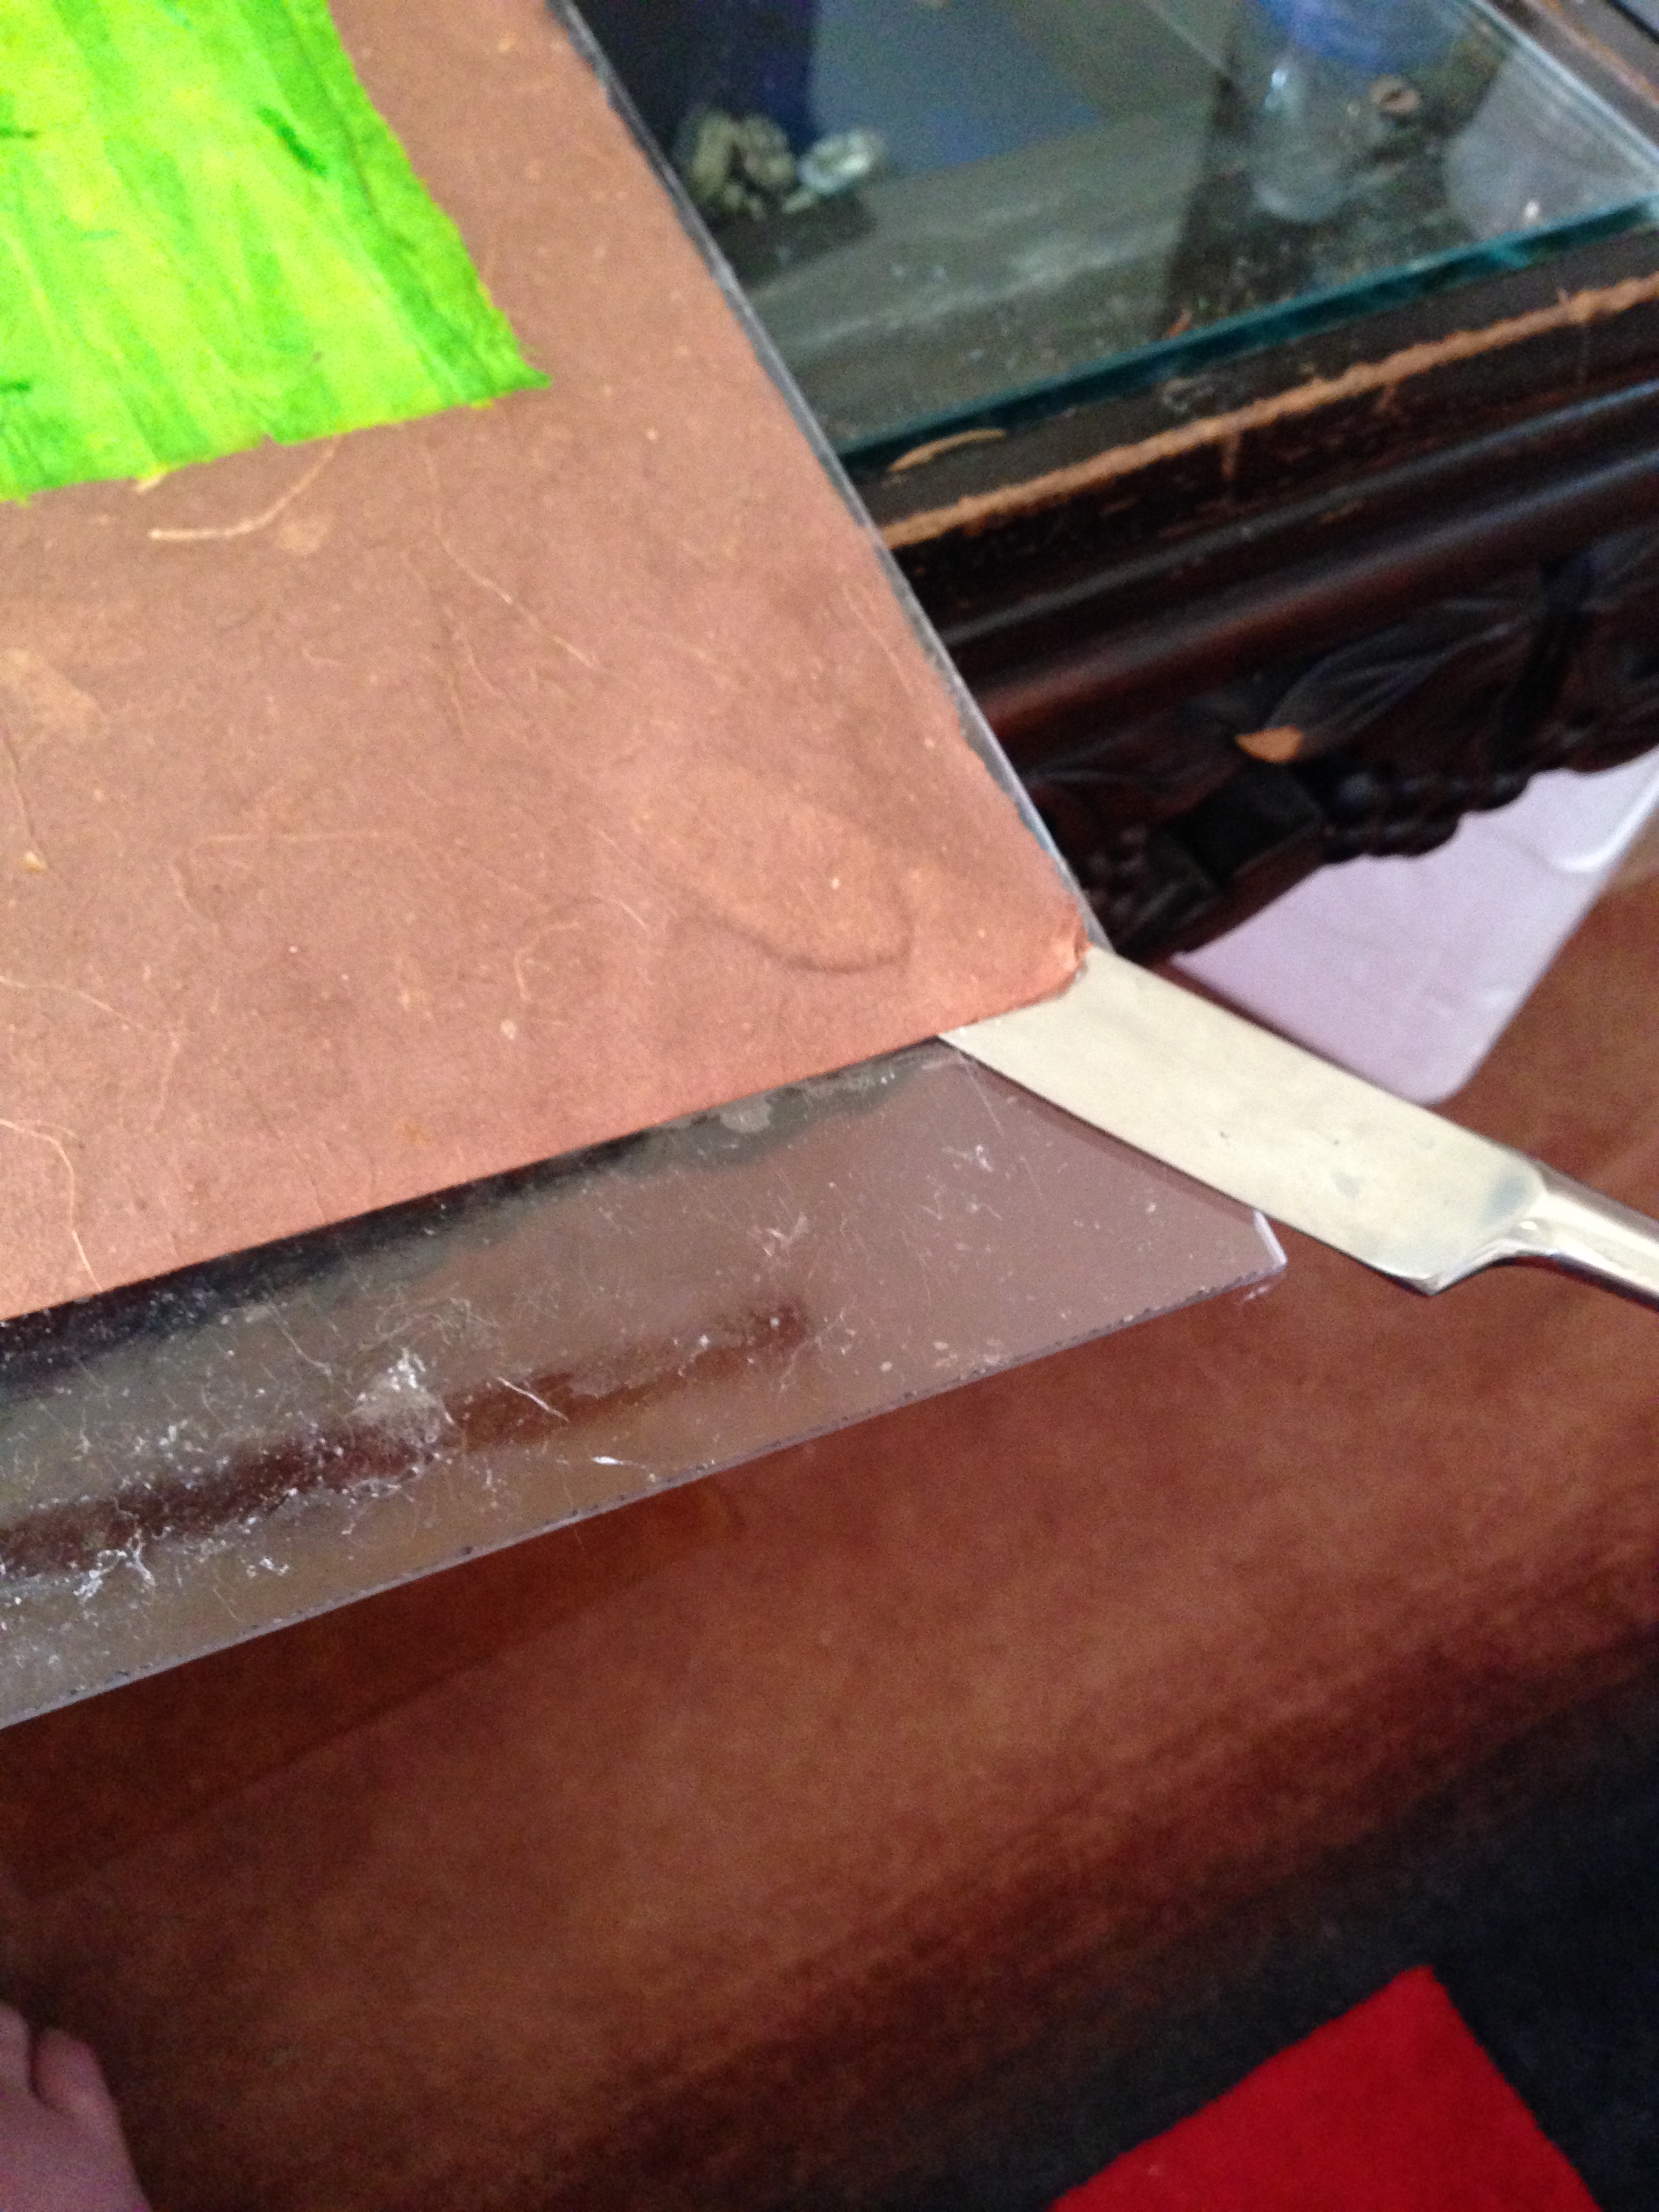
Once it has been removed, the two sheets of paper should be thoroughly bonded.

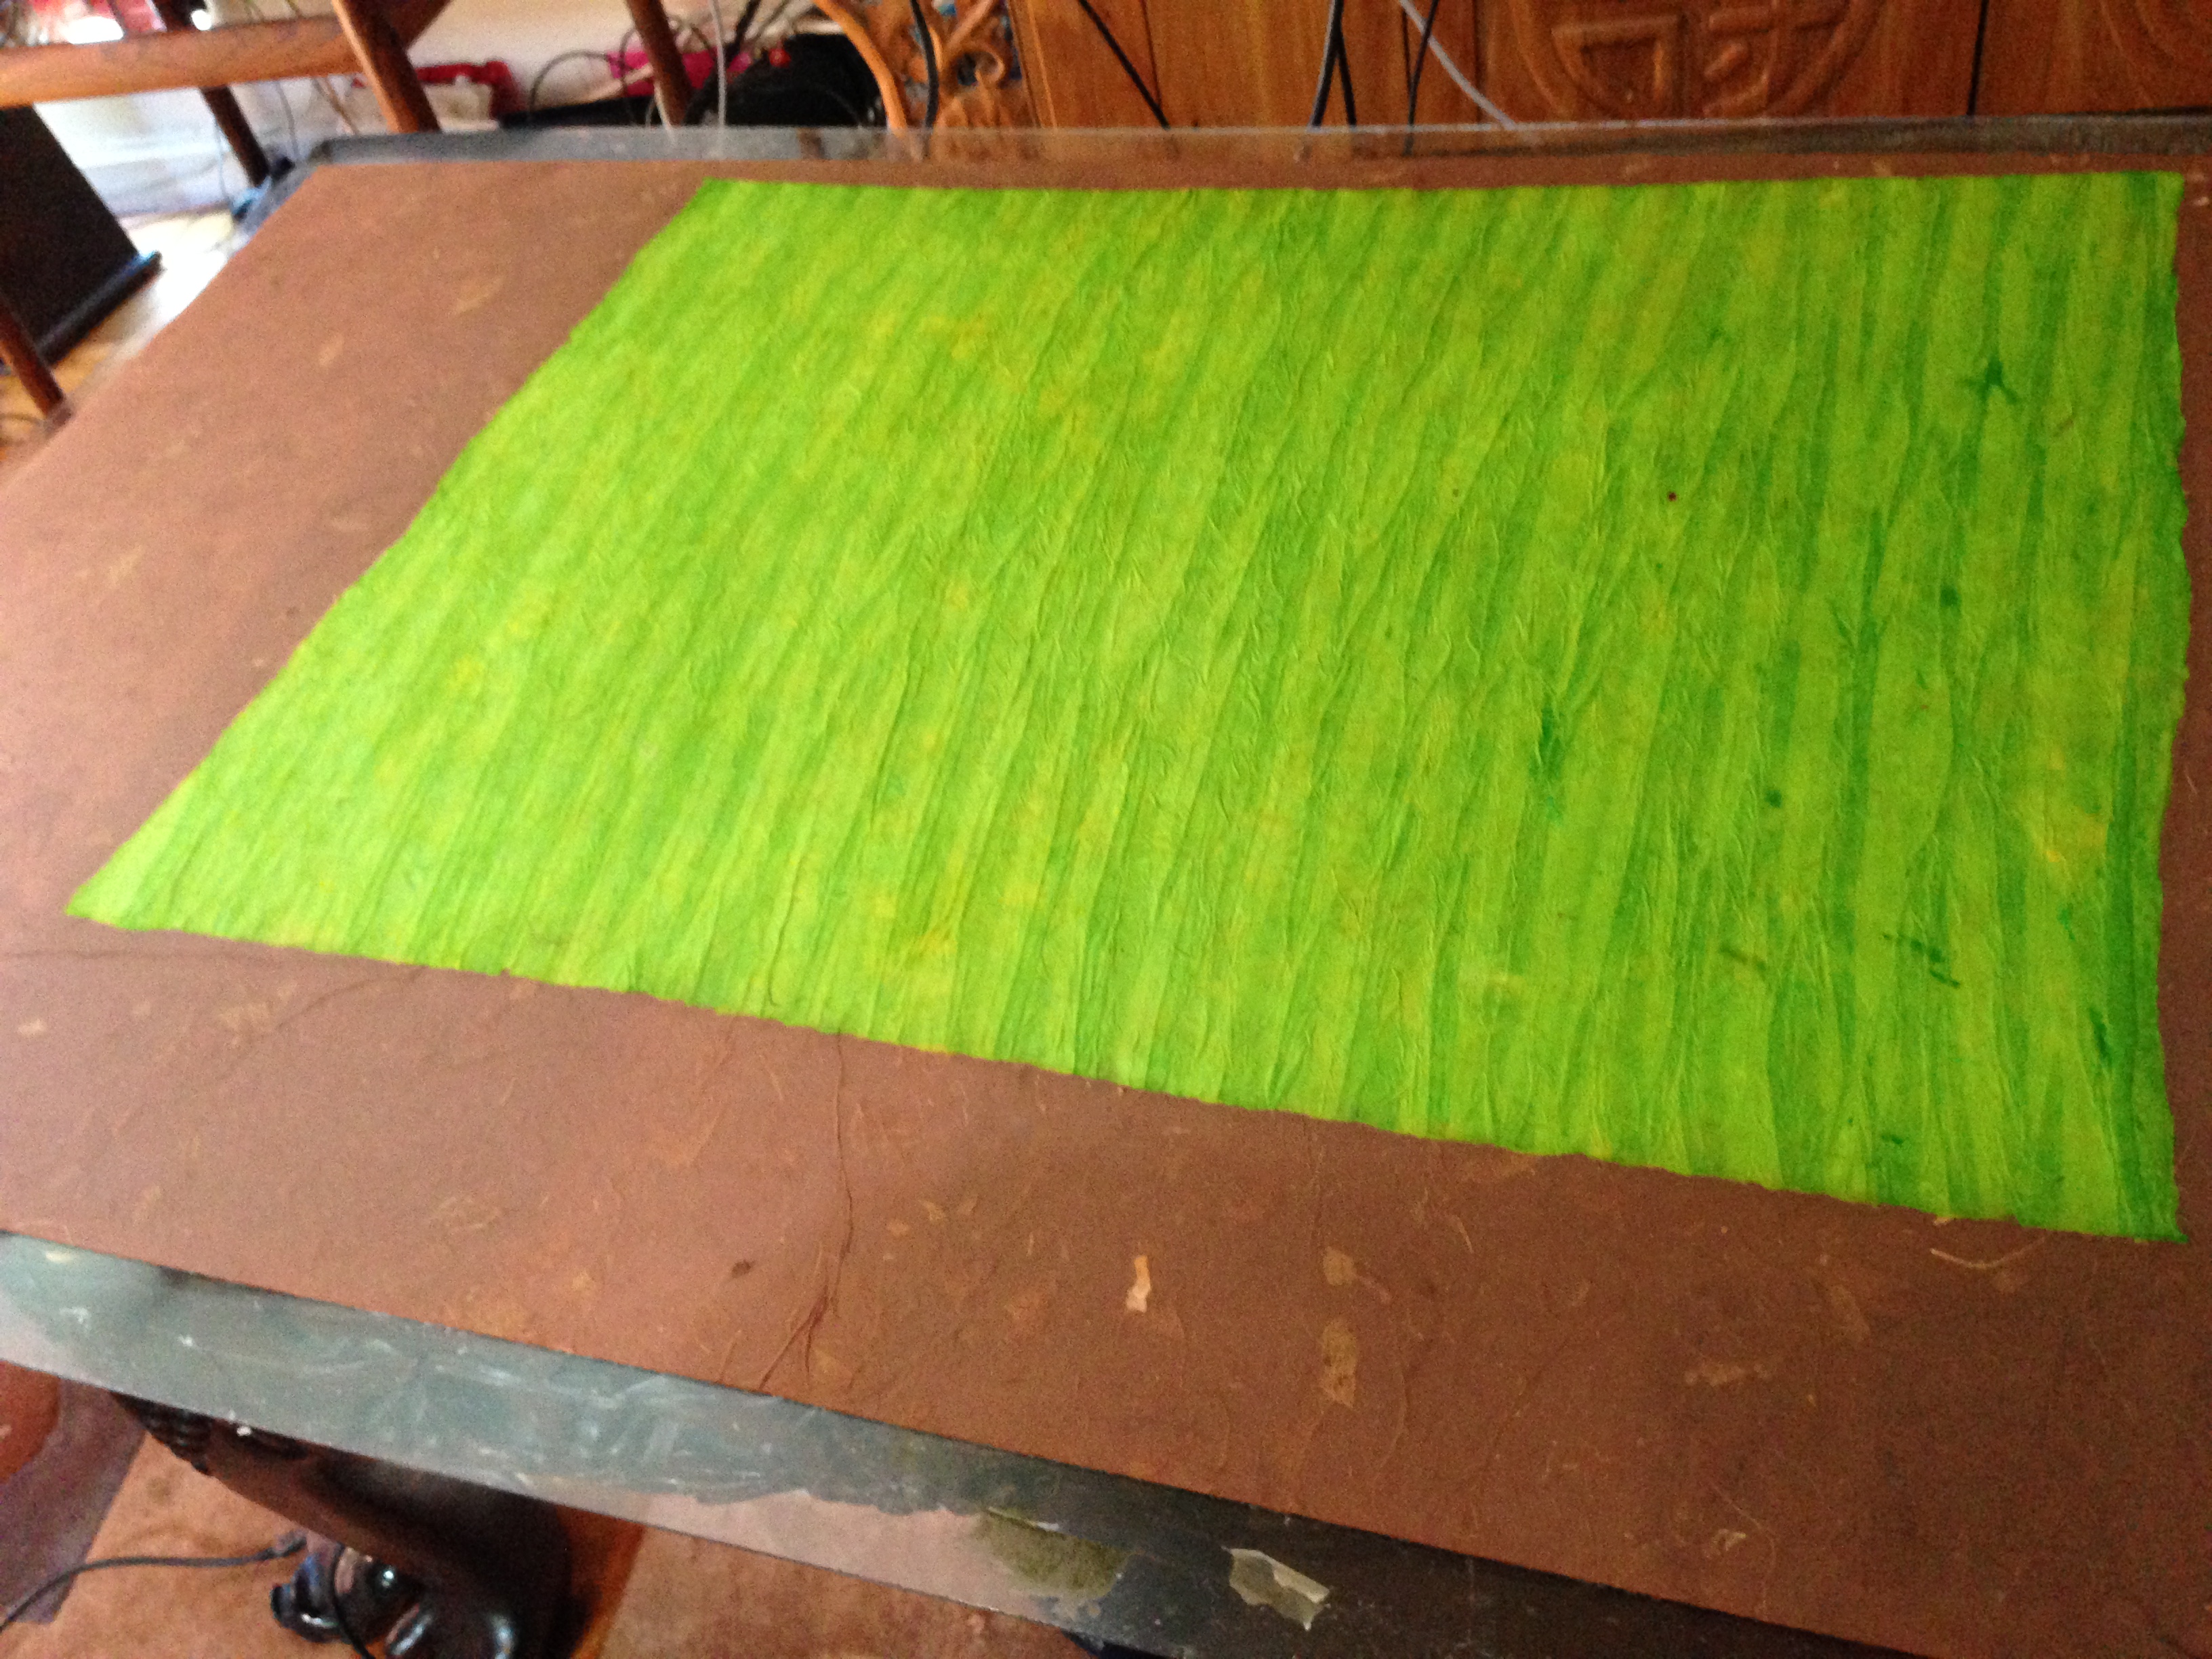
Finally, all that is left is to measure out a square and cut the paper to fit it. A T-Square and high-quality paper cutter are highly recommended.

Then, after all that, we finally have our sheet of origami paper, ready to fold.

Ta-da!
Tune in next time to see our design and our specialty paper finally come together into the completed project!
